Why Use Google Login in Your CodeIgniter 4 Application?
Integrating Google OAuth login (also called "Sign in with Google") offers several key advantages over traditional email/password registration:
- Improved User Experience: One-click login reduces friction and abandonment rates during signup.
- Enhanced Security: Google handles password management, 2FA, and account recovery — reducing your app's attack surface.
- Higher Conversion Rates: Studies show social logins can increase sign-ups by 20–40%.
- Rich User Data: Instantly access verified name, email, and profile picture (with user consent).
In CodeIgniter 4, this integration is straightforward using the official Google API Client library — no need for complex third-party auth packages.
Table Of Content
1 Prerequisites
- PHP ≥8.1 (recommended 8.2+)
- Composer
- CodeIgniter 4 installed
- Google Account + access to Google Cloud Console
2 What is Google OAuth 2.0 and How Does It Work with CodeIgniter 4?
Google OAuth 2.0 is an open standard authorization framework that allows your application to securely access limited user data from Google accounts without needing passwords.
The flow in a CodeIgniter 4 app looks like this:
- User clicks "Sign in with Google" → redirects to Google's consent screen.
- User grants permission → Google redirects back to your callback URL with an authorization
code. - Your server exchanges the code for access/refresh tokens.
- Use the tokens to fetch user profile info (email, name, ID, picture).
- Store session data and log the user in.
This tutorial uses the google/apiclient Composer package to handle the heavy lifting.
Follow these steps to add secure Google authentication to your CodeIgniter 4 project in under 30 minutes.
3 Install Codeigniter 4 Project
Use the following command to install new Codeigniter Project.
composer create-project codeigniter4/appstarter ci4-google-login
cd ci4-google-login
4 Install Google API Client Library
Use the following command to install Google Client Library via Composer.
composer require google/apiclient:^2.0
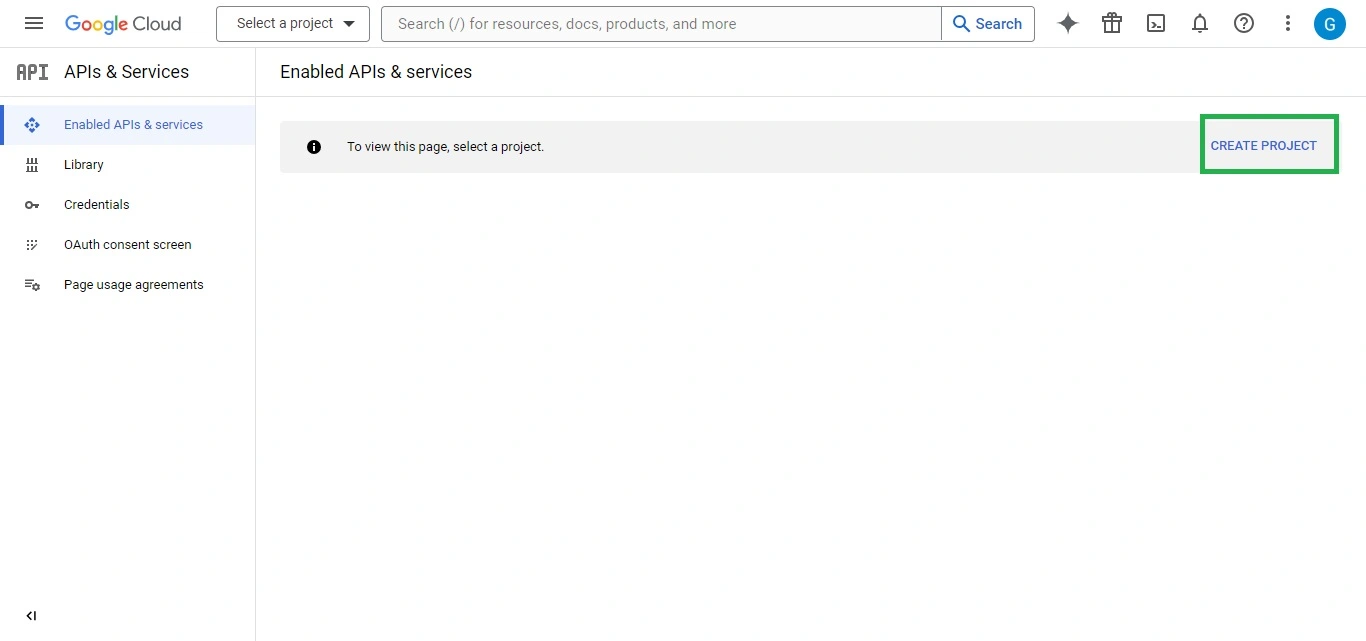
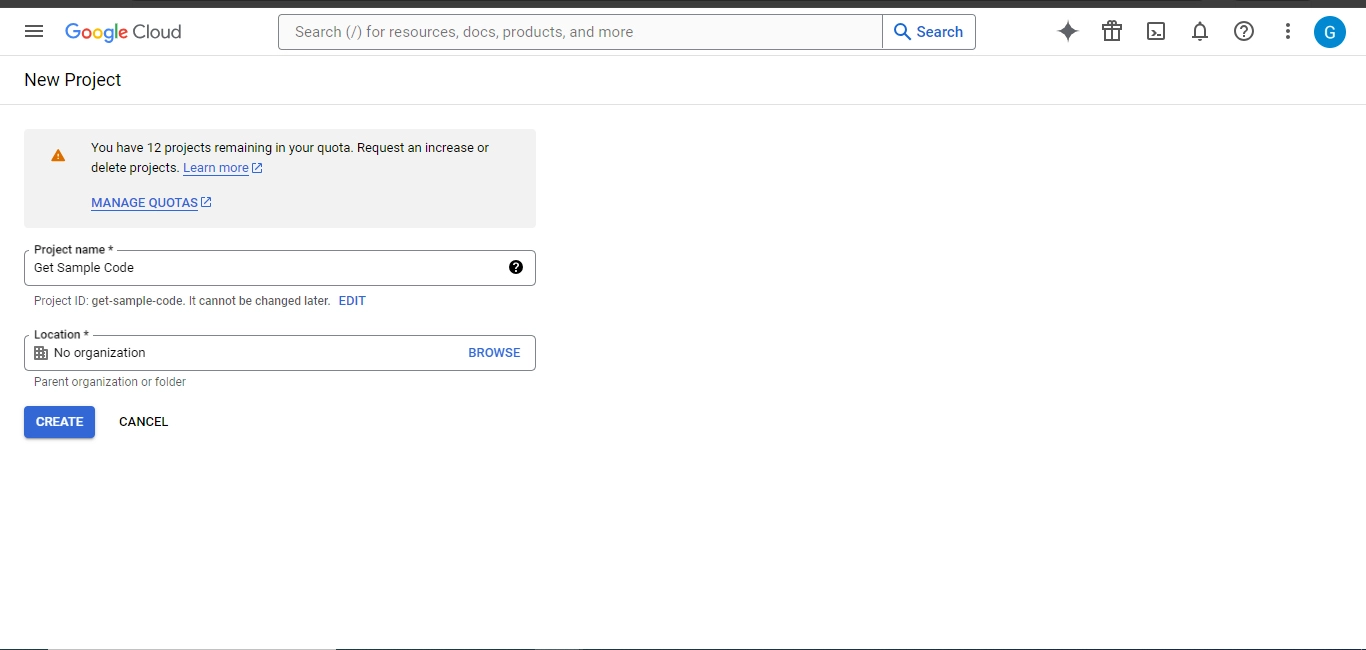
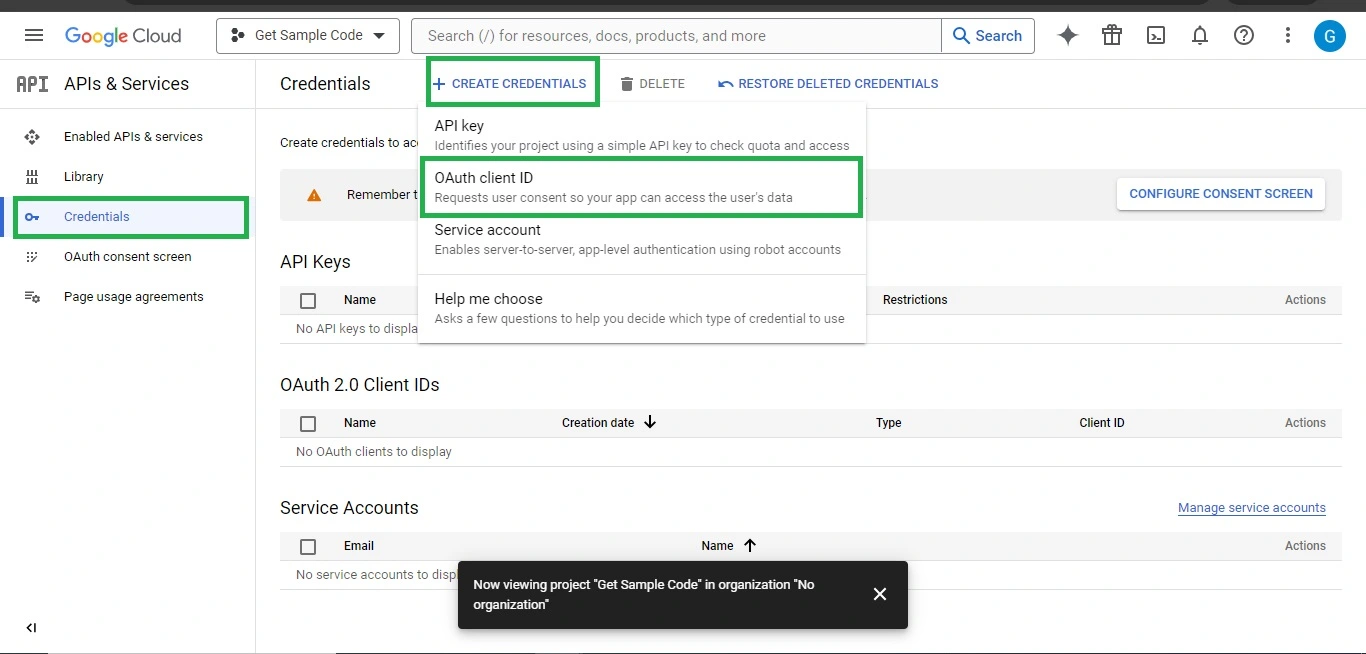
5 Set Up Google OAuth Credentials
5.1 Login into Google Developer Account
5.2 Create New Project

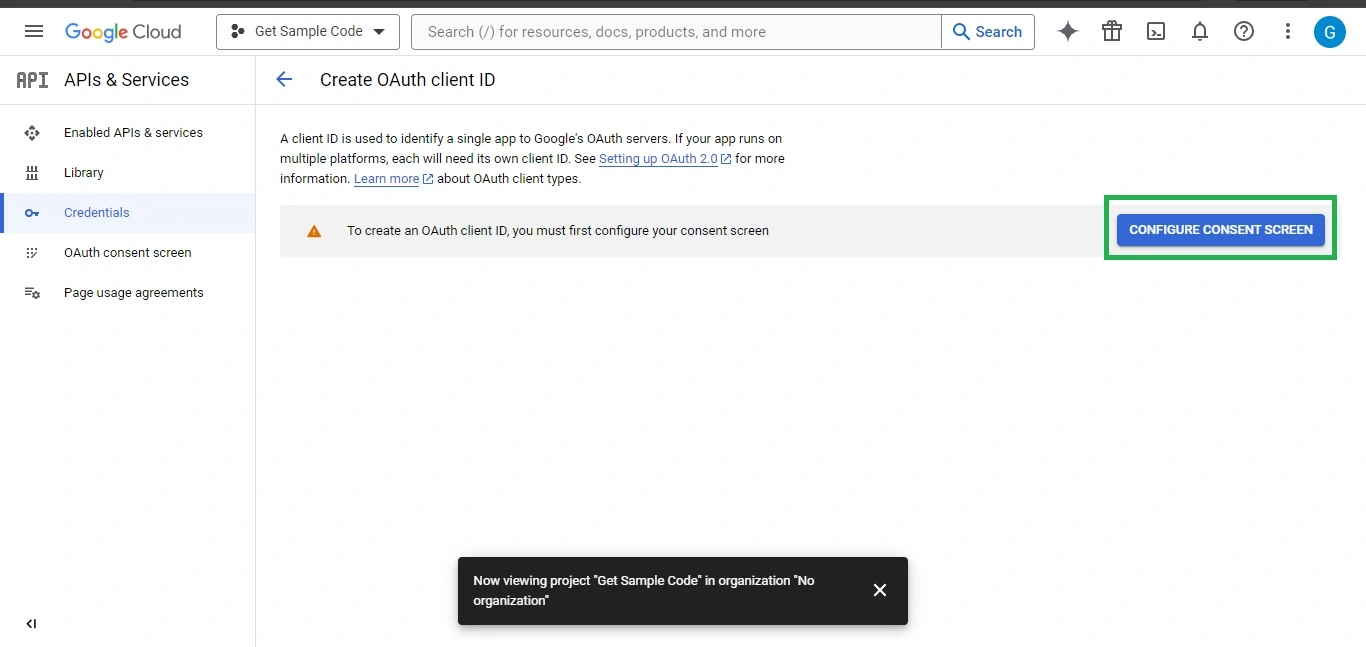
5.3 Create Credentials
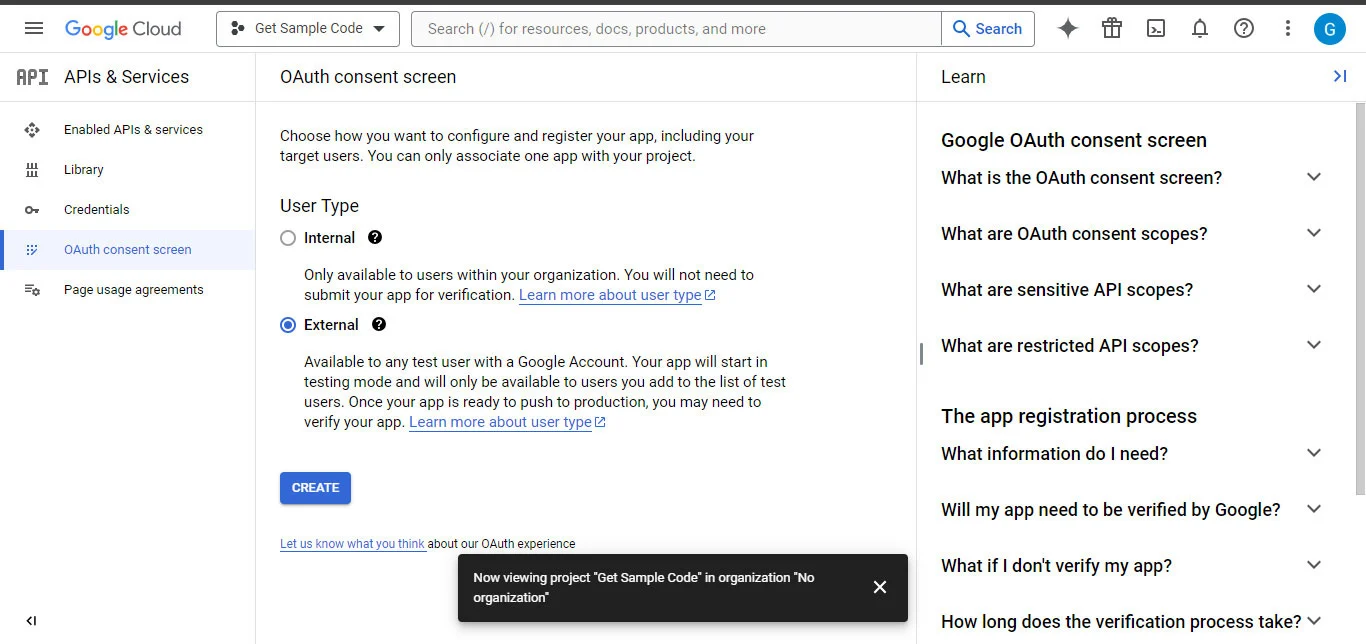
5.4 Configure Consent Screen
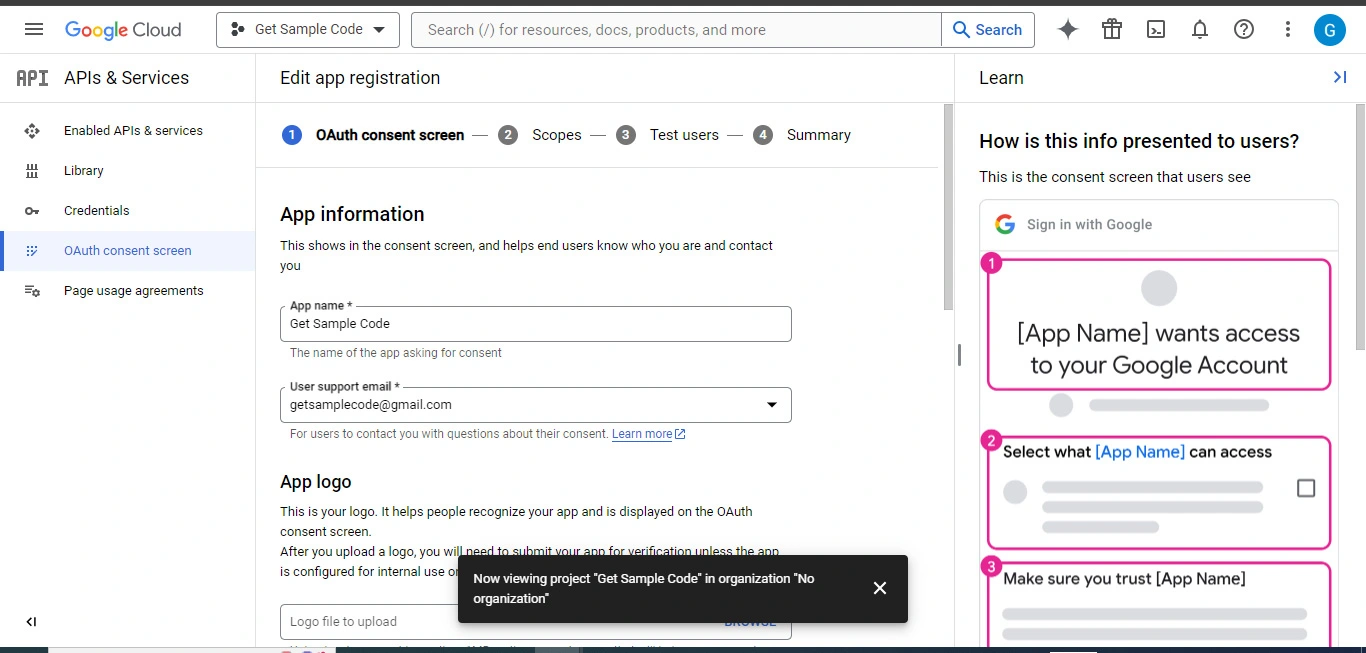
5.5 Update App Information
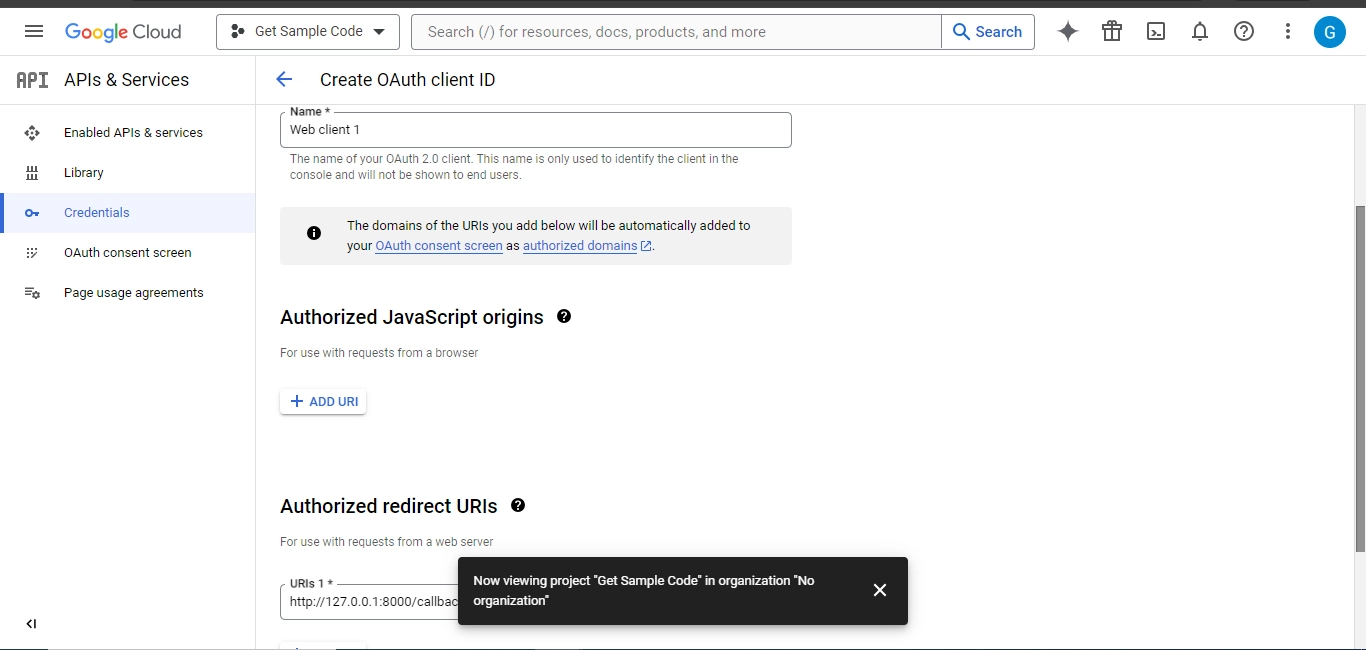
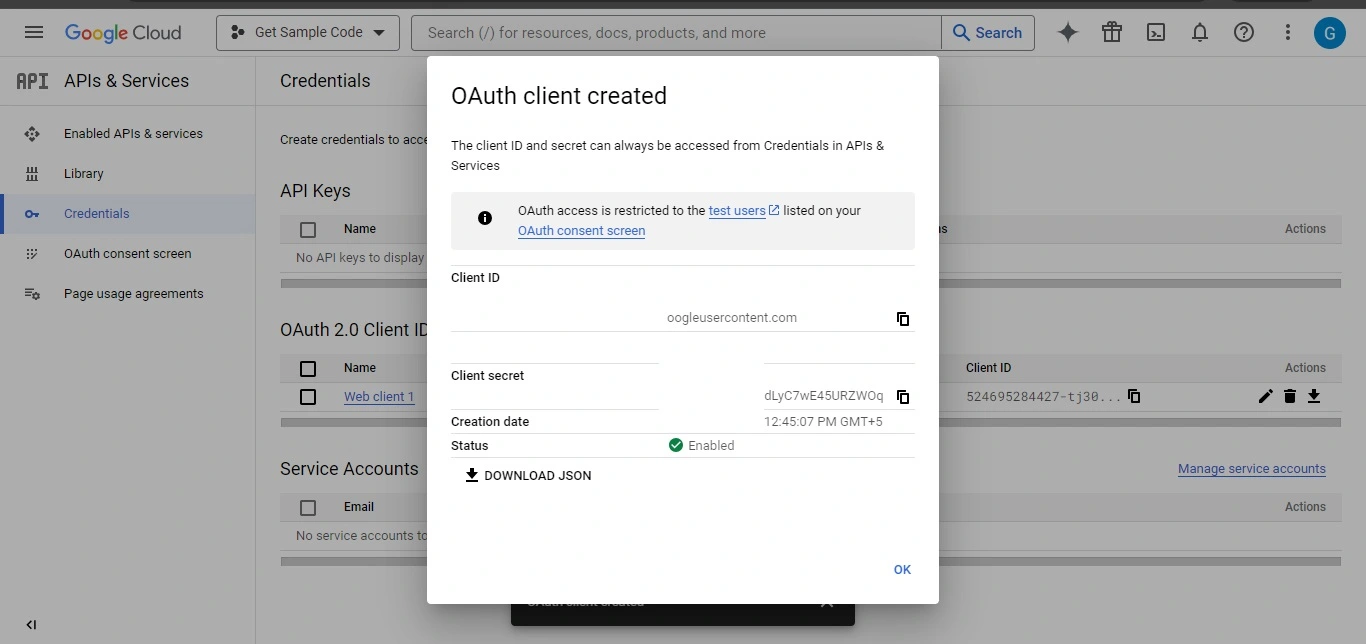
5.6 OAuth Client Created
6 Configure Credentials in CodeIgniter
GOOGLE_CLIENT_ID=your-client-id.apps.googleusercontent.com
GOOGLE_CLIENT_SECRET=your-client-secret
GOOGLE_REDIRECT_URI=http://localhost:8080/auth/google_callback
7 Create New Controller - AuthController
Use the following artisan command to Create Controller.
php spark make:controller AuthController
<?php
namespace App\Controllers;

use CodeIgniter\Controller;
use Google\Client;
use Google\Service\Oauth2;

class AuthController extends Controller
{
    protected $googleClient;

    public function __construct()
    {
        // Initialize Google Client
        $this->googleClient = new Client();
        $this->googleClient->setClientId(env('GOOGLE_CLIENT_ID'));
        $this->googleClient->setClientSecret(env('GOOGLE_CLIENT_SECRET'));
        $this->googleClient->setRedirectUri(env('GOOGLE_REDIRECT_URI'));
        $this->googleClient->addScope('email');
        $this->googleClient->addScope('profile');
        $this->googleClient->setAccessType('offline'); // Optional: for refresh tokens
    }

    // Display login page
    public function login()
    {
        return view('auth/login');
    }

    // Redirect to Google for authentication
    public function googleLogin()
    {
        $authUrl = $this->googleClient->createAuthUrl();
        return redirect()->to($authUrl);
    }

    // Handle Google callback
    public function googleCallback()
    {
        $code = $this->request->getVar('code');

        if (!$code) {
            return redirect()->to('/login')->with('error', 'Authorization code missing.');
        }

        try {
            $token = $this->googleClient->fetchAccessTokenWithAuthCode($code);

            if (isset($token['error'])) {
                throw new \Exception($token['error_description'] ?? 'Unknown error');
            }

            $this->googleClient->setAccessToken($token);

            // Get user info
            $oauthService = new Oauth2($this->googleClient);
            $userInfo = $oauthService->userinfo->get();

            // Store user data in session
            $userData = [
                'google_id'    => $userInfo->id,
                'name'         => $userInfo->name,
                'email'        => $userInfo->email,
                'picture'      => $userInfo->picture,
                'is_logged_in' => true
            ];

            session()->set($userData);

            return redirect()->to('/dashboard');
        } catch (\Exception $e) {
            return redirect()->to('/login')->with('error', 'Login failed: ' . $e->getMessage());
        }
    }

    // Display dashboard (protected)
    public function dashboard()
    {
        if (!session()->get('is_logged_in')) {
            return redirect()->to('/login')->with('error', 'Please log in first.');
        }

        $data['user'] = session()->get();
        return view('auth/dashboard', $data);
    }

    // Logout
    public function logout()
    {
        session()->destroy();
        return redirect()->to('/login')->with('success', 'Logged out successfully.');
    }
}

?>
8 Create Index View File
<!DOCTYPE html>
<html lang="en">
<head>
    <meta charset="UTF-8">
    <title>Login</title>
    <style>
        body { font-family: Arial, sans-serif; text-align: center; margin-top: 50px; }
        .btn-google { background-color: #4285F4; color: white; padding: 10px 20px; text-decoration: none; border-radius: 5px; }
        .error { color: red; }
        .success { color: green; }
    </style>
</head>
<body>
    <h1>Login to Your Account</h1>

    <?php if (session()->getFlashdata('error')): ?>
        <p class="error"><?= session()->getFlashdata('error') ?></p>
    <?php endif; ?>

    <?php if (session()->getFlashdata('success')): ?>
        <p class="success"><?= session()->getFlashdata('success') ?></p>
    <?php endif; ?>

    <a href="<?= site_url('auth/google') ?>" class="btn-google">Login with Google</a>
</body>
</html>
9 Create Dashboard View File
<!DOCTYPE html>
&<!DOCTYPE html>
<html lang="en">
<head>
    <meta charset="UTF-8">
    <title>Dashboard</title>
    <style>
        body { font-family: Arial, sans-serif; text-align: center; margin-top: 50px; }
        img { border-radius: 50%; width: 100px; height: 100px; }
        .logout { background-color: #f44336; color: white; padding: 10px 20px; text-decoration: none; border-radius: 5px; }
    </style>
</head>
<body>
    <h1>Welcome, <?= esc($user['name']) ?>!</h1>
    <img src="<?= esc($user['picture']) ?>" alt="Profile Picture">
    <p>Email: <?= esc($user['email']) ?></p>
    <a href="<?= site_url('logout') ?>" class="logout">Logout</a>
</body>
</html>
10 Define a Route
app/Config/Routes.php
use CodeIgniter\Router\RouteCollection;

/**
 * @var RouteCollection $routes
 */
$routes->get('/', 'Home::index');
$routes->get('/login', 'AuthController::login');
$routes->get('auth/google', 'AuthController::googleLogin');
$routes->get('auth/google_callback', 'AuthController::googleCallback');
$routes->get('/dashboard', 'AuthController::dashboard');
$routes->get('/logout', 'AuthController::logout');
11 Folder Structure
12 Run the Application
php spark serve
- Visit http://localhost:8080/login
- Click "Login with Google"
- Authenticate with Google
- You'll be redirected to the dashboard showing your name, email, and profile picture
- Logout returns to login page
Troubleshooting
- Redirect URI Mismatch: Ensure exact match in Google Console and .env.
- cURL Error 60 (SSL): On Windows, download cacert.pem and set in php.ini: curl.cainfo = "path/to/cacert.pem".
- No Code in Callback: Check routes and firewall.
- Scopes Issues: Google may prompt for consent; ensure scopes are added.
- Production Tips: Use HTTPS (Google requires it), store sessions securely (e.g., in DB via CI config), and revoke tokens on logout if using access tokens further.
12 Conclusion

Written by Revathi M
PHP Developer & Technical Writer · 10+ years building web applications with CodeIgniter and Laravel
Revathi specializes in PHP backend development, authentication systems, and REST API design. She writes practical, production-tested tutorials at Get Sample Code to help developers build secure applications faster.
Frequently Asked Questions
You need PHP 8.2 or higher, Composer, and a configured Google Developer Console project with OAuth Client ID.
Run the command: composer require google/apiclient:^2.0. This installs the official Google API Client Library.
Add GOOGLE_CLIENT_ID, GOOGLE_CLIENT_SECRET, and GOOGLE_REDIRECT_URI to your .env file.
In the controller constructor, create a Google_Client instance, set Client ID, Secret, Redirect URI from env, and add scopes for 'email' and 'profile'.
Use $this->googleClient->createAuthUrl() and redirect to it in the login method.
In the callback method, fetch the access token with fetchAccessTokenWithAuthCode($code), set it, use Google_Service_Oauth2 to get user info via userinfo->get(), store data in session, and redirect to dashboard.
The tutorial fetches id, name, and email from the Google userinfo endpoint.
No, user data (id, name, email) is stored only in CodeIgniter sessions. No database is required.
The GOOGLE_REDIRECT_URI in .env must exactly match the authorized redirect URI configured in Google Console OAuth credentials (e.g., http://127.0.0.1:8000/callback/google).
Create a logout method that destroys the session with session()->destroy() and redirects to the login page.